
New Experiment Of Making A 12 Volt Diy DC Motor From Scratch
Introduction
Welcome to inverter110, the ultimate hub for all your DIY electronics needs. Today, we delve into the fascinating world of DC motors. We will guide you through the process of creating a 12-volt DIY DC motor from scratch. This comprehensive guide will cover everything from the materials needed, such as iron plates, wire no 28, and magnets, to the step-by-step process of assembly.
Understanding DC Motors
What is a DC Motor?
A DC motor, or Direct Current motor, is a type of motor that converts electrical energy into mechanical energy. It’s a fundamental component in many electronic devices and machinery, from toys to industrial equipment.
How Does a DC Motor Work?
The working principle of a DC motor is based on the interaction between magnetic fields. When a current-carrying conductor is placed in a magnetic field, it experiences a force that causes it to move – this is the basic principle behind a DC motor.
Materials Needed for a DIY DC Motor
Iron Plate
The iron plate serves as the base of the motor. It’s crucial to choose a sturdy and durable iron plate to ensure the longevity of your DC motor.
Wire No 28
Wire no 28 is used to create the coil in the DC motor. The coil is an essential part of the motor as it’s responsible for creating the magnetic field that drives the motor.
Magnet
The magnet is another crucial component of a DC motor. It creates the permanent magnetic field within which the coil rotates.
Step-by-Step Guide to Making a 12 Volt DIY DC Motor
Preparing the Materials
The first step in creating your DC motor is gathering and preparing all the necessary materials. This includes cutting the iron plate to the appropriate size, unwinding the wire no 28, and choosing the right magnet.
Assembling the Motor
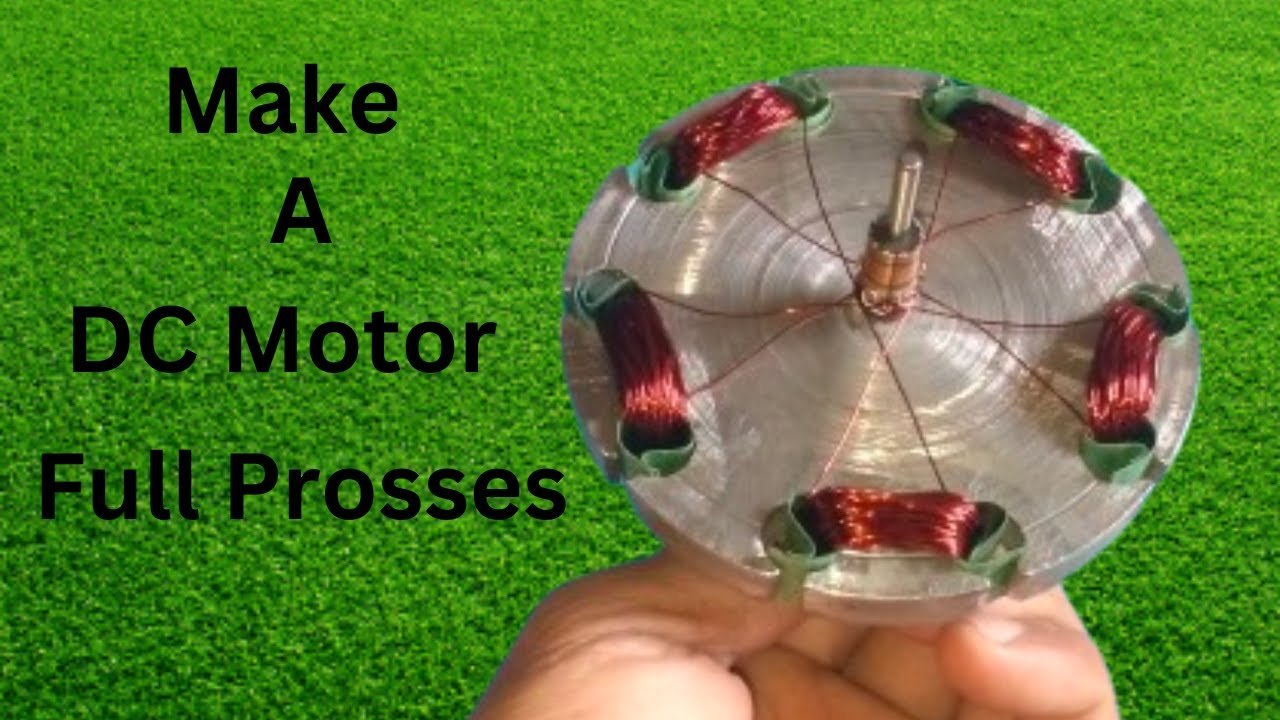
Once all the materials are prepared, the next step is assembling the motor. This involves winding the wire around the iron plate to create the coil, positioning the magnet, and connecting the motor to a power source.
Testing the Motor
After the assembly is complete, it’s time to test the motor. Connect it to a 12-volt power source and observe its operation. If the motor doesn’t work as expected, check the connections and make sure the coil and magnet are properly positioned.
Conclusion
Creating a 12-volt DIY DC motor from scratch is a rewarding and educational experience. With the right materials and a bit of patience, you can build your own motor and gain a deeper understanding of how these essential devices work. Welcome to the world of DIY electronics with Multi Electro!
Frequently Asked Questions
What type of wire is best for a DIY DC motor?
Wire no 28 is ideal for a DIY DC motor due to its thickness and conductivity.
Can I use a different type of metal for the base?
While it’s possible to use other metals, an iron plate is recommended due to its durability and magnetic properties.
What type of magnet should I use?
A neodymium magnet is recommended due to its strong magnetic field.
How can I increase the power of my DIY DC motor?
Increasing the number of turns in the coil or using a stronger magnet can increase the power of your DIY DC motor.
What can I do if my DIY DC motor doesn’t work?
Check the connections and make sure the coil and magnet are properly positioned. If the motor still doesn’t work, it may be necessary to replace some components.
Barınaktan, sokaktan ya da gönüllülerden sahiplendirilen sevimli dostlarımız sahipleniyorum.com’da sizi bekliyor. Hayvanseverler için hazırlanan modern arayüzü ve hızlı filtreleme seçenekleriyle aradığınız dostu kolayca bulun.
More articles like this would make the internet a better place.
I particularly admired the way this was written.
More content pieces like this would make the blogosphere more useful.
I absolutely valued the style this was explained.
More articles like this would make the blogosphere more useful.
I discovered useful points from this.